Personalizing Perfection: How to Use Your Own Photos with AI-Optimized Prompts for High-End Visuals
Learn how to bridge the gap between your professional photography and high-end design. This guide shows you how to use your own images as a base to create stunning, customized promotional visuals for your business.
In the world of luxury hospitality and tourism, authenticity is everything. While AI can generate beautiful scenery, nothing beats the power of your actual facility—the specific view from your terrace or the unique interior of your restaurant.
But how do you turn a raw photo into a professional-grade promotional banner? In this guide, we will show you how to combine your own photography with the Design Instruction Generator and the Image Generation Tool to create high-end visuals for a Venice-based luxury hotel.
What You Will Learn in This Article
- How to generate a professional design brief from your website.
- How to use your own photos as the foundation for AI-generated designs.
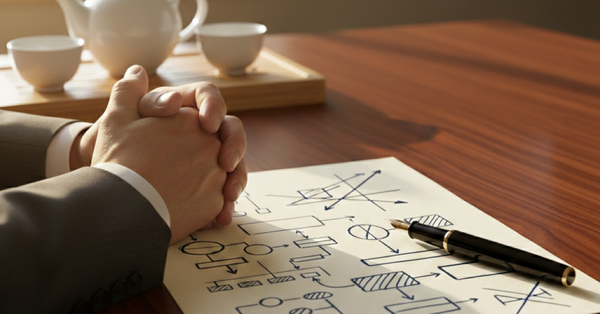
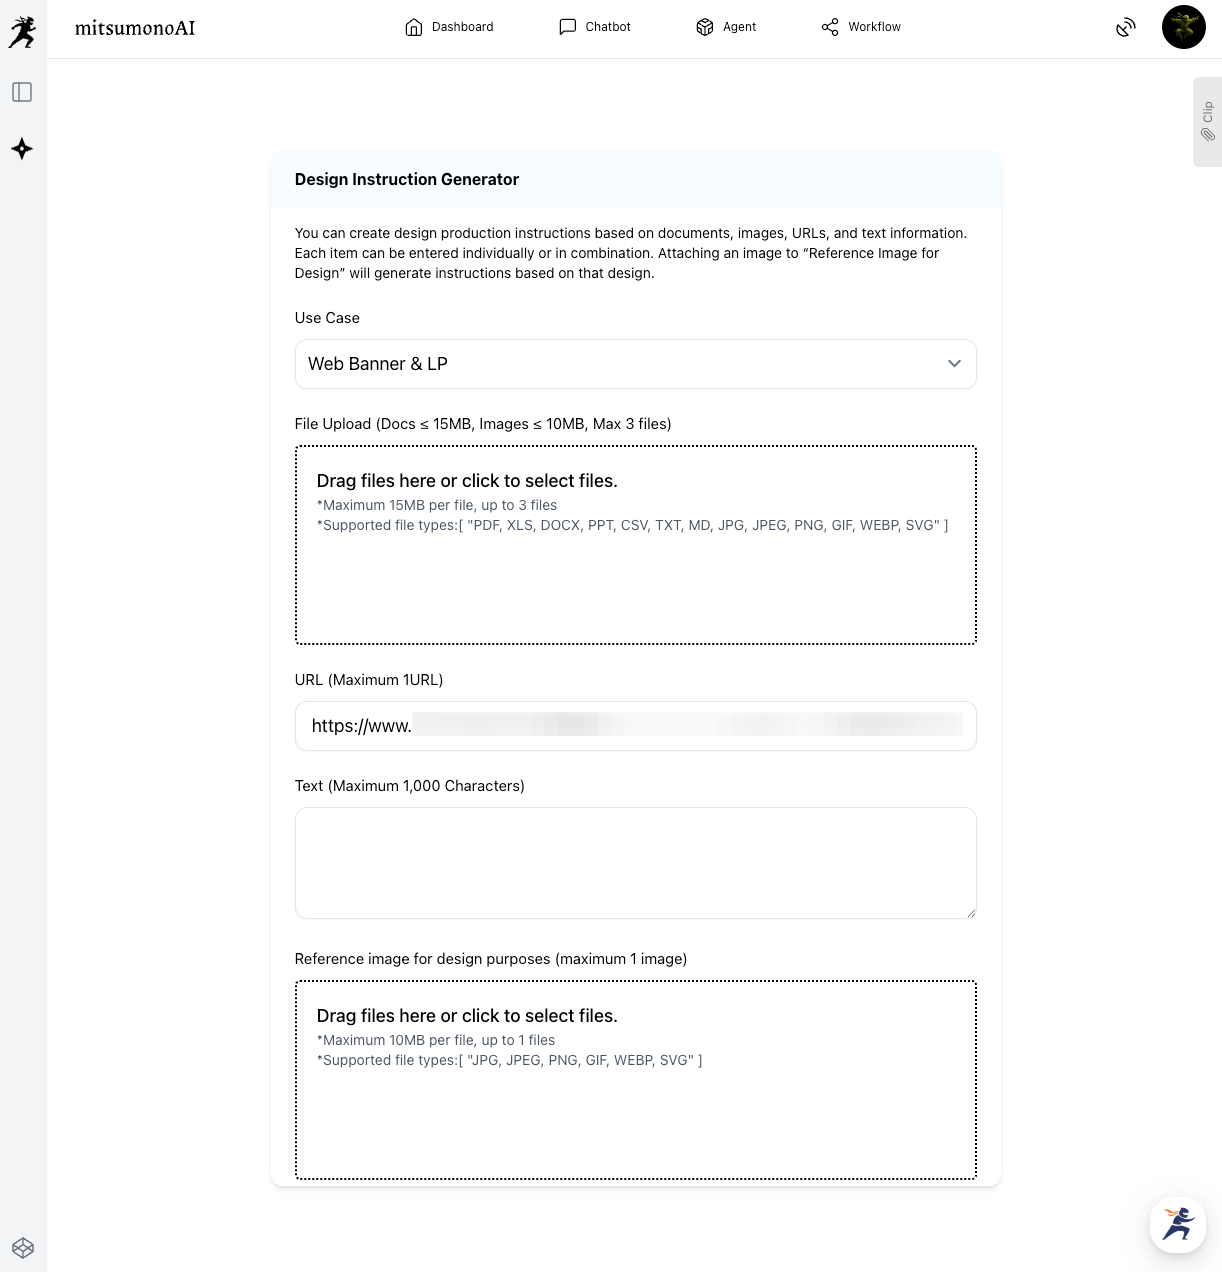
STEP 1: Generate and Save Your Instructions
First, we need the "brain" for our design. We use the Design Instruction Generator to analyze the existing vibe of your brand.
How to do it:
- Select Use Case: Choose "Web Banner."
- Paste your URL: Use your official hotel or restaurant page.
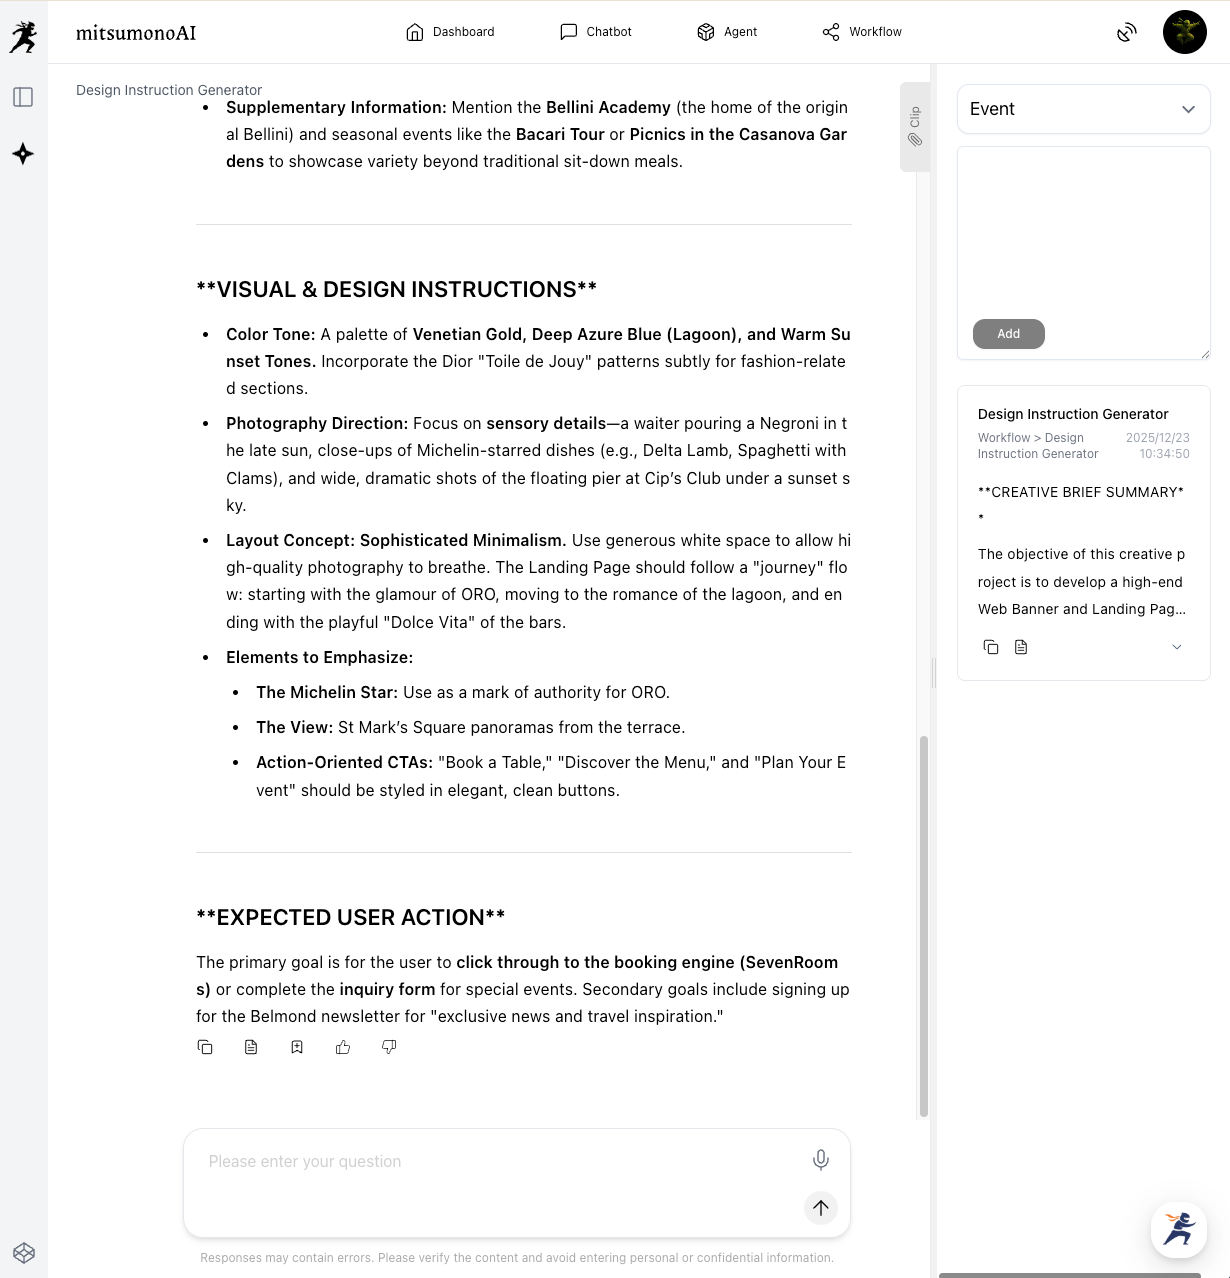
- Generate & Save: Once the "Creative Production Brief" is generated, save it to your "Clip" by clicking the button located directly below the result. This stores the text for instant access in the next step.
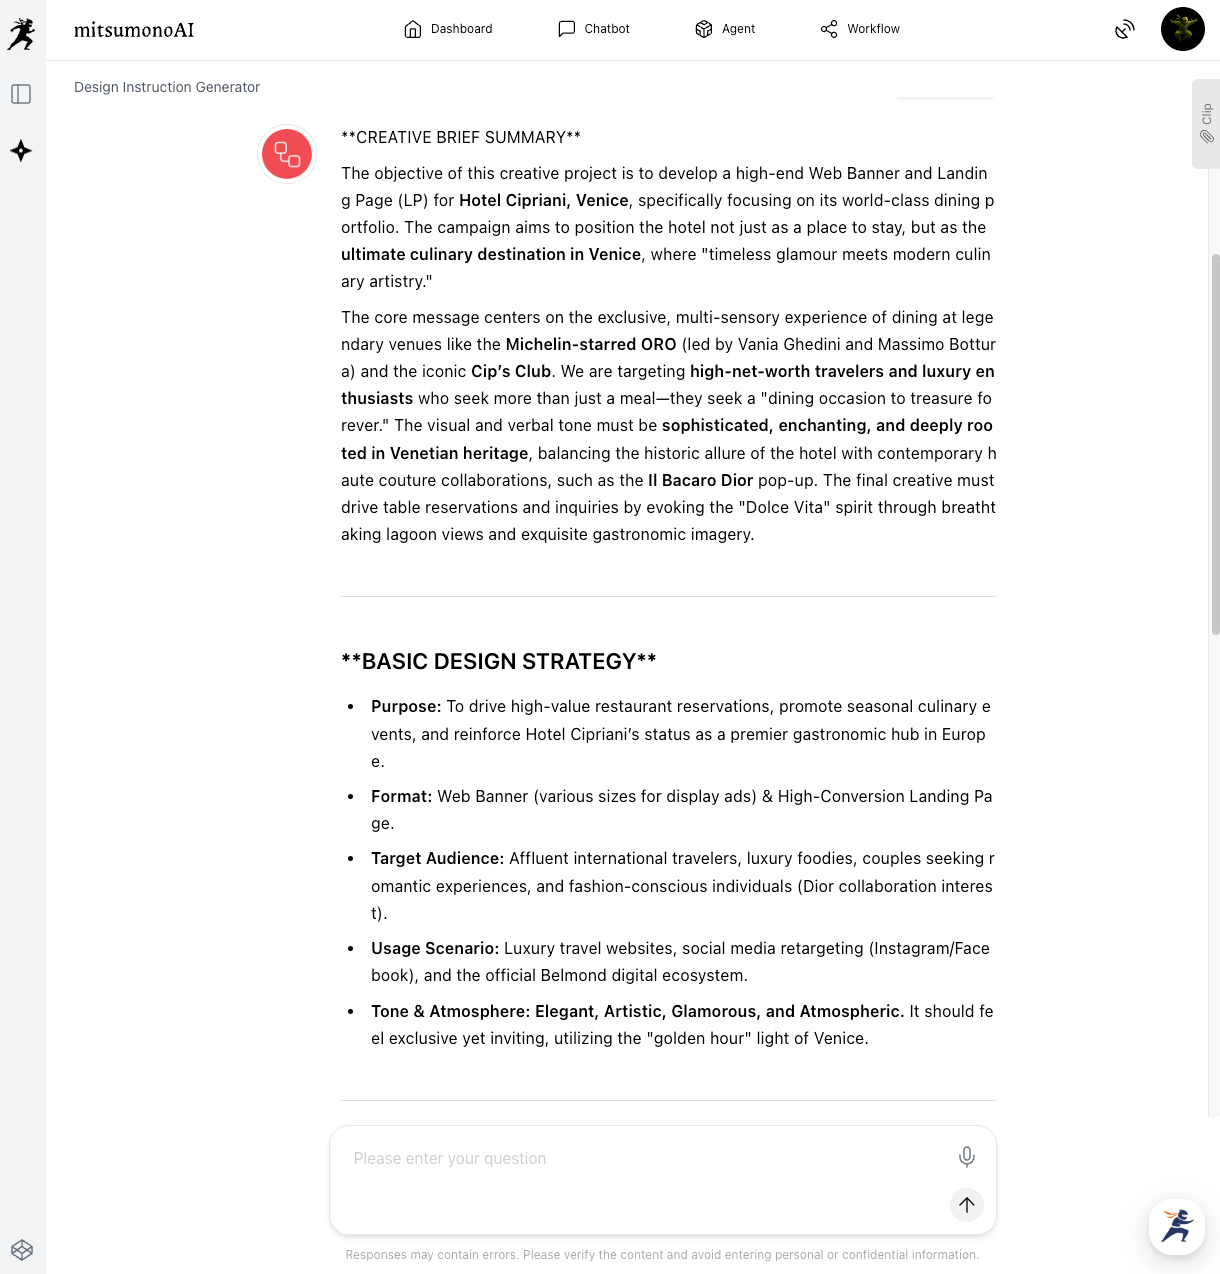
Pro Tip: Make it Yours
Once the AI provides the "Creative Production Brief," remember that you are in control.
Edit the output instructions as necessary to align with your personal preferences and requirements.
If you want more focus on the "sunset glow" or a specific "elegant font," simply add those notes to the text before moving to the next step.
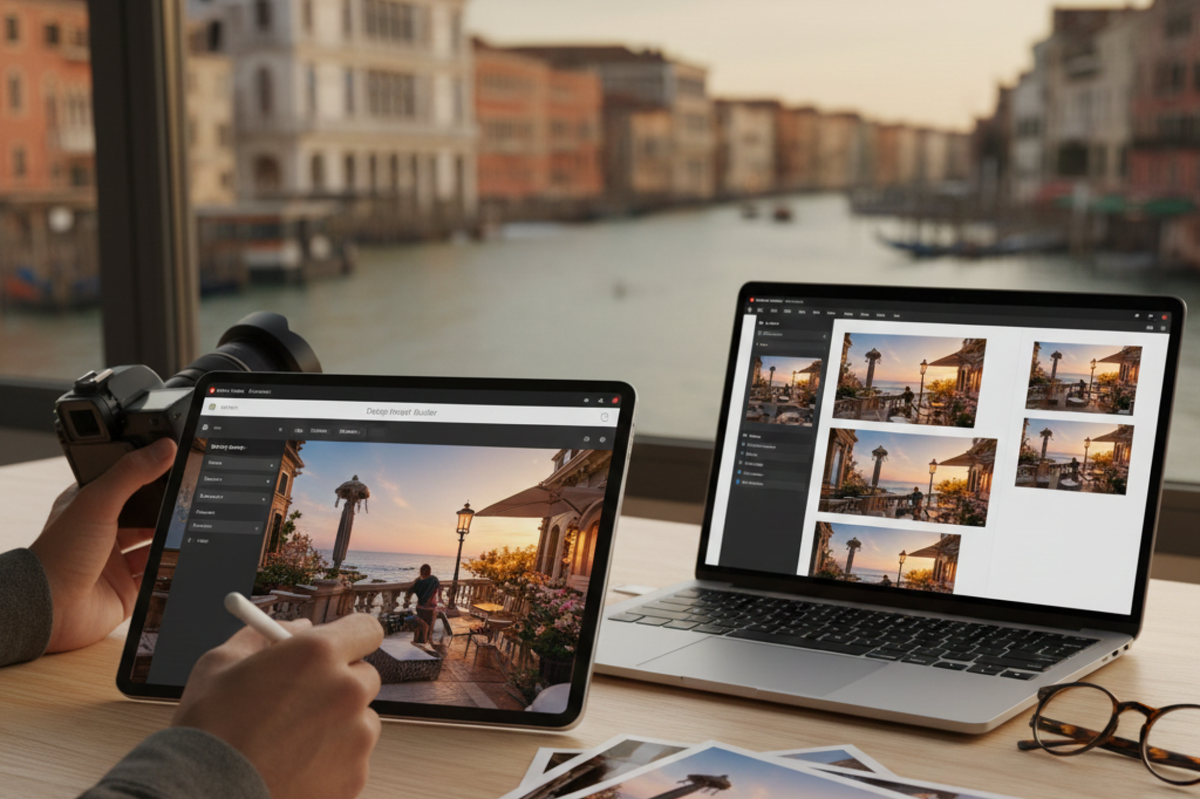
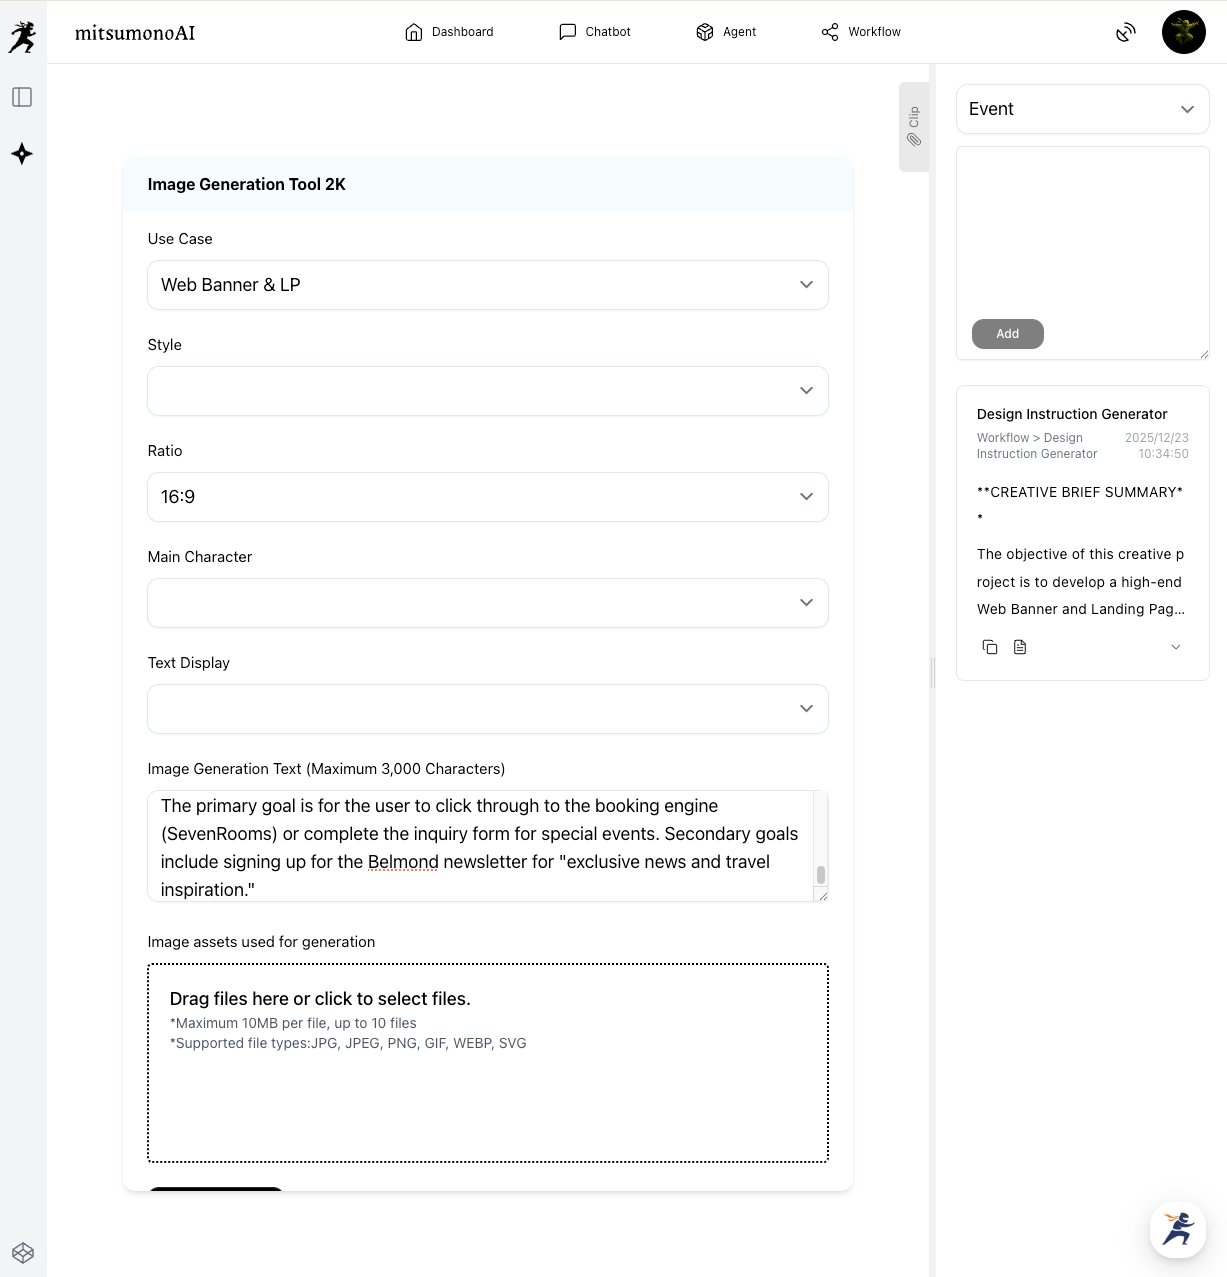
STEP 2: The 3-Item Input with One-Click Copy
Now, we move to the Image Generation Tool 2K. The beauty of this system is that the text you saved in Step 1 contains all the complex design instructions. You don't need to manually configure "Style" or "Lighting" settings.
The 3-Item Workflow:
- Use Case: Select "Web Banner" (or your desired format).
- Ratio: Choose the aspect ratio (e.g., 16:9 for social media).
- Image Generation Text: Paste the brief you saved in Step 1. You can copy it with a single click using the button in your Clip section.
⚠️ Important Note on Character Limits:
The "Image Generation Text" box has a limit of 3,000 characters. If your generated brief is too long, please summarize or edit the text before pasting to ensure it fits within the limit while keeping the core visual instructions.
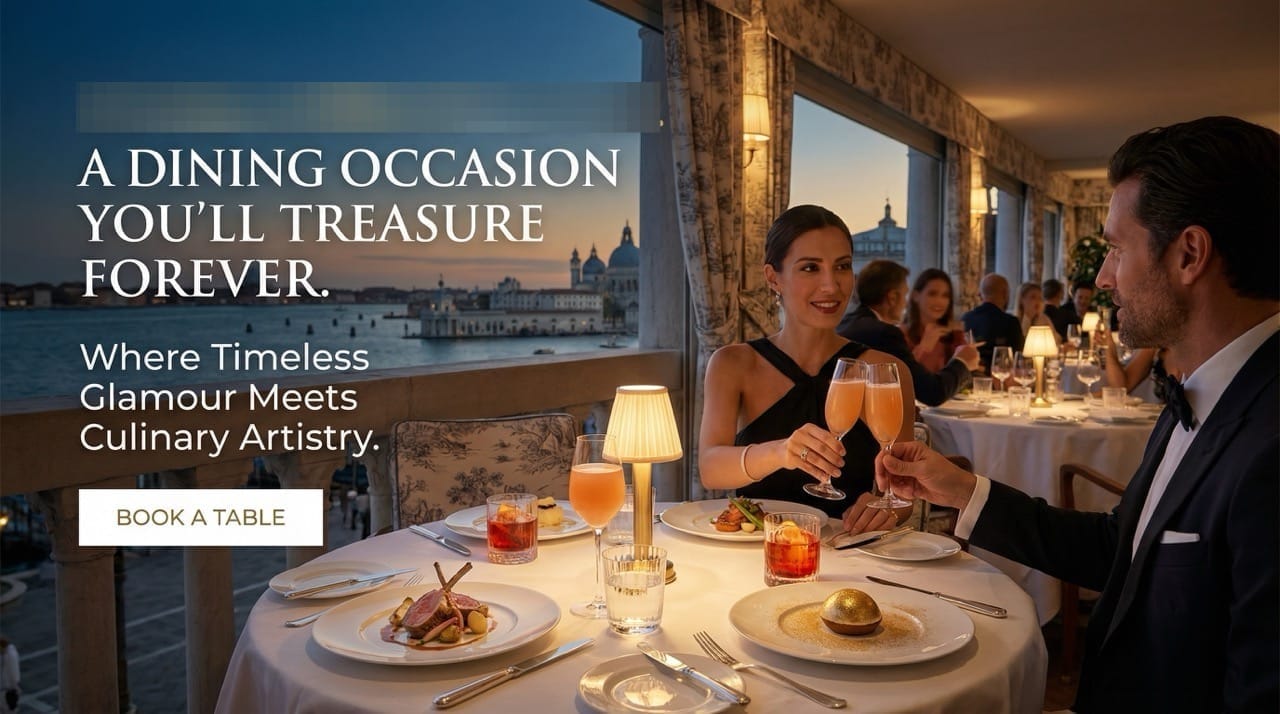
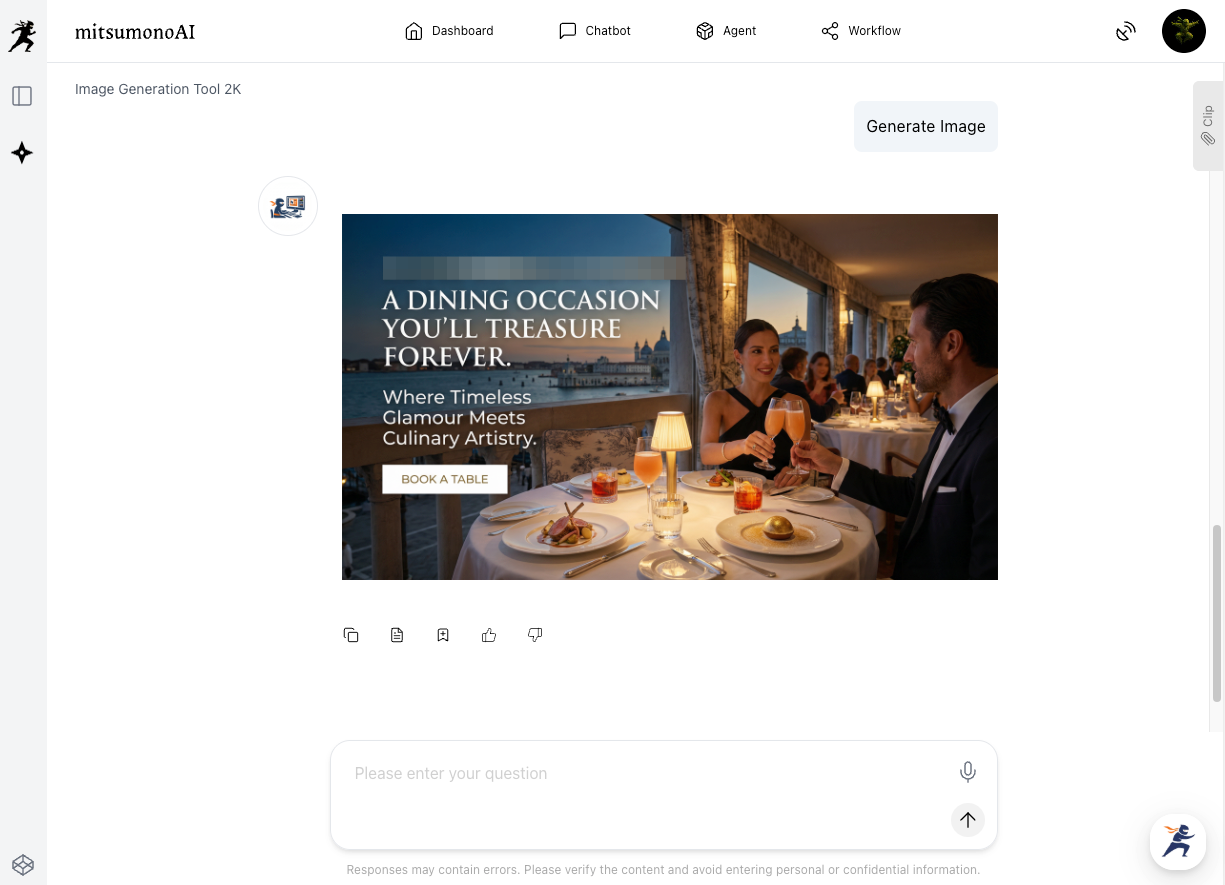
The Final Result: Authentic yet Professional
By following this workflow, you ensure that the final product is 100% authentic to your business while maintaining the polished look of a high-end marketing agency.
Summary: A Custom Approach for Every Business
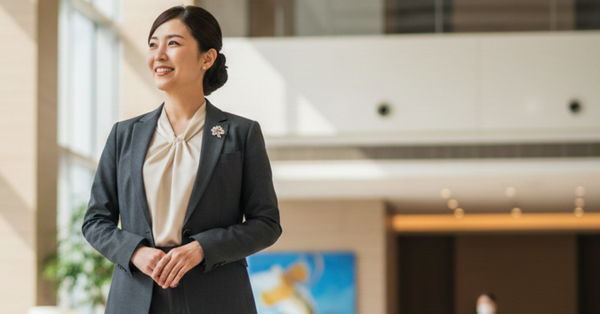
Whether you are a tourism board promoting a historic site or a small business owner showing off a signature dish, this method is perfect for high-end, customized productions.
- Step 1: Use the URL to get the "Strategy."
- Step 2: Use your "Photos" to keep it real.
- Step 3: Use the 2K tool to bring it all together.
Ready to elevate your brand?
Take one of your favorite photos today and see how these tools can transform it into a masterpiece!
Production reference example